
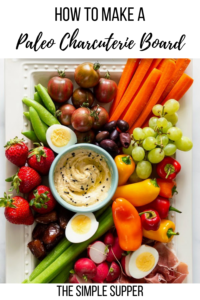
Learn how to create a beautiful paleo charcuterie board without blowing your budget! Easy tips to adapt to any size appetizer board for any party!
The days of presenting your guests with a bowl of salted peanuts, some ritz crackers and the leftover olives from your last party are long over. Now it is all about presentation and offering a variety of palate pleasing, small bites. You may have started seeing grazing tables and stylized appetizer boards all over your Instagram and Pinterest lately. But figuring out how to pick out a million different types of things and arranging them perfectly without spending a million dollars can be pretty intimidating. Let’s talk about how to simplify this whole process so that anyone can make a beautiful paleo charcuterie board!
What is a charcuterie board?
Calling these big fancy displays of snacks charcuterie is a bit of incorrect. Charcuterie is a French word meaning delicatessen. It technically means the art of preparing meats, primarily pork so things like pates, sausages, and bacon. The way that we are using it today has evolved to mean an adult lunchable. Basically a catch all platter of meats, cheeses, nuts, vegetables, breads, and crackers.
Per the usual I am always looking for a way to make this whole endeavor healthier, or at least without the dairy and gluten, and processed meats. I also discovered very quickly that meat can get crazy expensive, crazy fast so in my version I am keeping it fairly limited on my version. But you are welcome to include more as your budget allows.
What are the elements of a good charcuterie board?
Making a stellar paleo charcuterie board is about more than just yummy foods. It’s about mixing textures, tastes, and colors to make food that is a pleasing experience for all of your senses. These can be broken down into four main categories.
- Salty/Briny
- Crunchy
- Sweet
- Dips/Sauces
Depending on your budget and how many people you are feeding you can choose how ever many different items from these elements as needed. I would recommend having at the very least one of each on your board.
What are good salty/briny foods?
- Olives
- Pickles
- Artichokes
- Pickled Vegetables: Beets, carrots, peppers, etc.
- Prosciutto
What are good sweet foods?
- Grapes
- Strawberries
- Raspberries/Blackberries/Blueberries
- Cherries
- Cherry tomatoes
- Figs
- Dates
What are good crunchy foods?
- Carrots
- Bell peppers
- Snap Peas
- Cucumbers
- Radishes
- Celery
- Endive
- Nuts: Almonds, pecans, cashews, peanuts, etc.
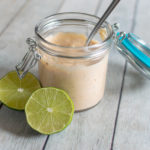
What are good paleo dips?
- Hummus (Non-chickpea based if doing Whole 30.)
- Pesto
- Dairy Free Ranch
- Spicy Aiolis
How do I assemble a charcuterie board?
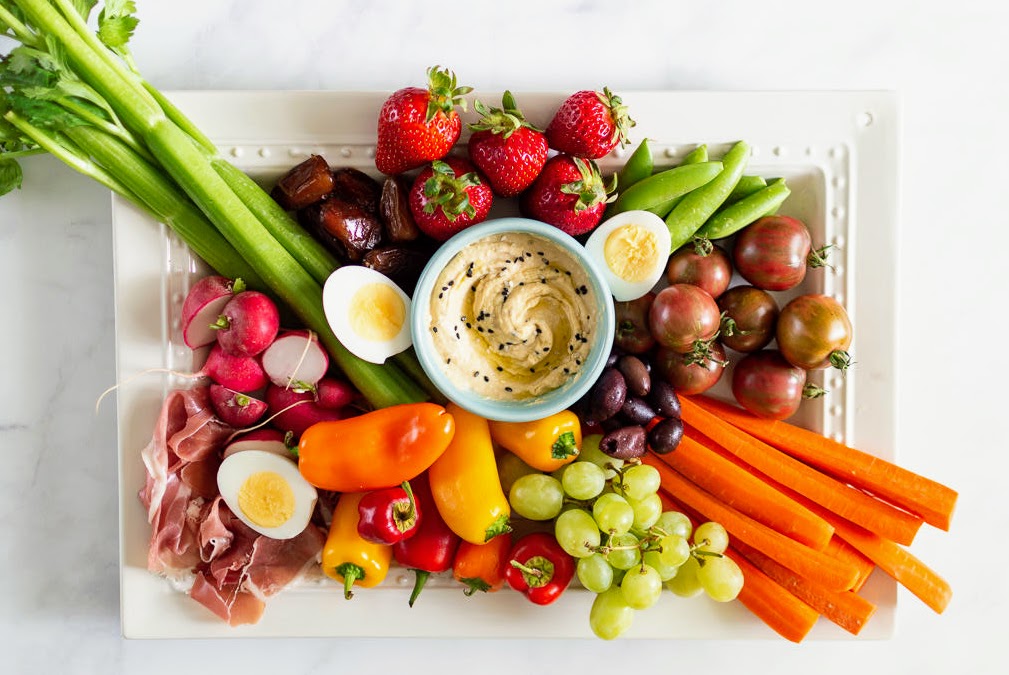
Assembling is the most fun, but the hardest to teach someone else to do. Your paleo charcuterie board is probably going to look different than mine based on what you had access to. Some of our vegetables aren’t going to look the same or be the same sizes of colors. But that’s okay!
Start by separating your elements into categories based on shape, size, and color. A visually interesting and Instagram worthy board is going to have these elements mixed in together.
Begin with your dips and use those to create an anchor either at opposite corners if using several dips or to establish the center of the board if using one. You will use this to build the rest of our foods around.
Next take the biggest/longest foods like your carrots, endive, celery, etc and lay them about the board in a variety of areas. You don’t want them to be too close together if possible. Taking the next biggest foods distribute those around the board. Try to have separation between different colors if possible. You don’t want a whole side of the board to be green or all orange.
Continue moving up by size and shape until all of the food has been placed around the board and it is to your liking. I also like to add some decorative elements at this point like fresh herbs or edible flowers if I have some in the garden. These are totally optional as no one is probably going to eat them. But they are fun!
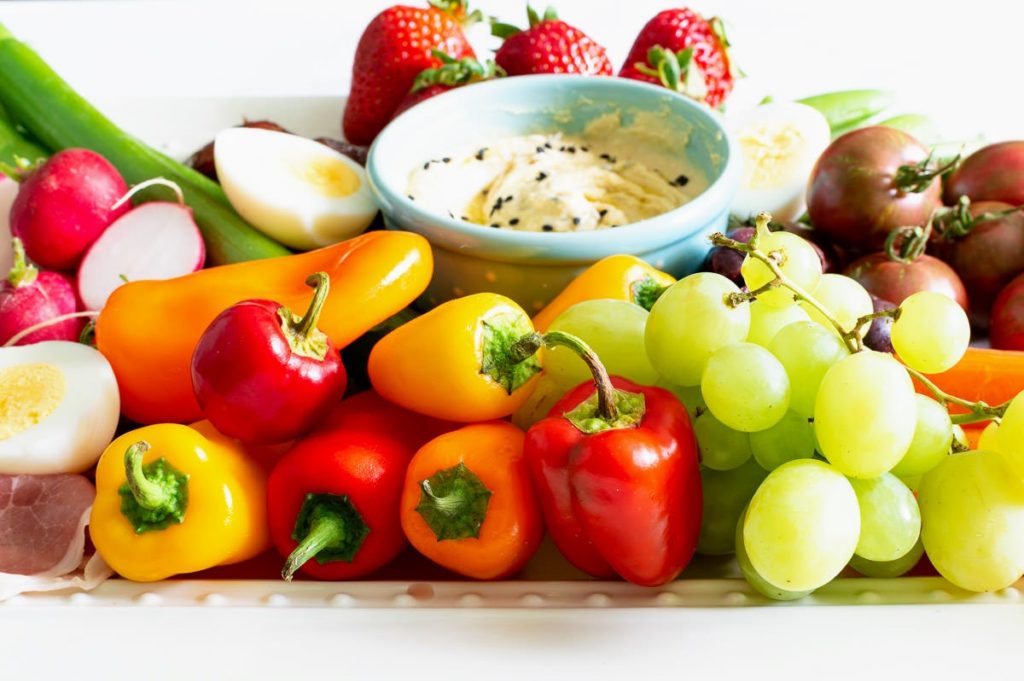
How to photograph a charcuterie board?
After all of this hard work you definitely want to capture the magic with a picture. Getting it to look just like it does in real life on your camera can be more difficult than it seems.
- Photograph in natural light. If possible take your picture in front of a window or open door that gives you lots of natural light. Turn off any overhead lights or any other lamps in the room.
- Defuse direct light. If the sun is coming straight in your window it will create harsh shadows. Use a sheer curtain or a white sheet to defuse the light, by having someone else hold it in front of the light source. This will help you get a bright, clear picture without the deep shadows.
- Use a neutral background. Try to clear away any clutter or distracting elements from the background of the photo or the surface the food is sitting on. You want your beautiful board to be the center of attention, not your junk mail.
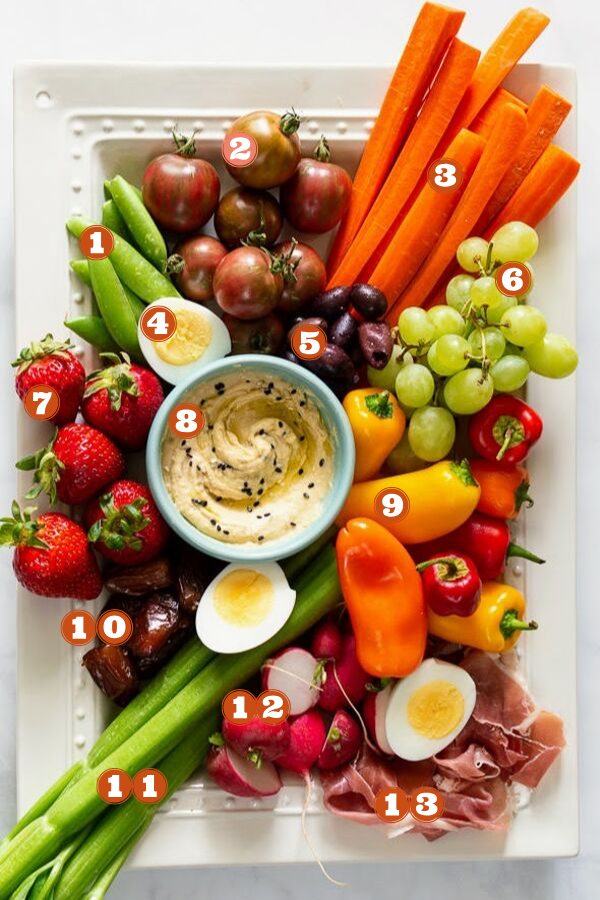
Paleo Charcuterie Board Key
- Snap peas
- Black Vernissage Tomatoes
- Carrots
- Hard boiled egg
- Kalamata Olives
- Green Seedless Grapes
- Strawberries
- Hummus
- Mini Bell Peppers
- Medjool Dates
- Celery
- Radishes
- Prosciutto
Now go out and make beautiful paleo charcuterie boards to show off to your friends and family. Please be sure to share your pictures with me on Instagram with #thesimplesupper and by tagging me @thesimplesupper.
This is such a neat idea especially when the festival season is just around the corner.
Thanks Sonal! It is perfect for that!
I love Charcuterie Boards. I feel like I don’t make enough, but my father-in-law would love this!
I usually make a million around the holiday/party season and then take a break for the rest of the year lol!
I really need to make this charcuterie board for family get togethers, they would love this one! Thank you for sharing!
Hope they love it Juli!
I love a good charcuterie board I am always looking for different options and also to satisfy the needs of all my guest your tips are great!
Thanks Adriana!
I love charcuterie boards. You can get so creative and have so much fun with them. Will definitely keep all your awesome suggestions in mind next time I put one together.
Glad you liked it Erica!